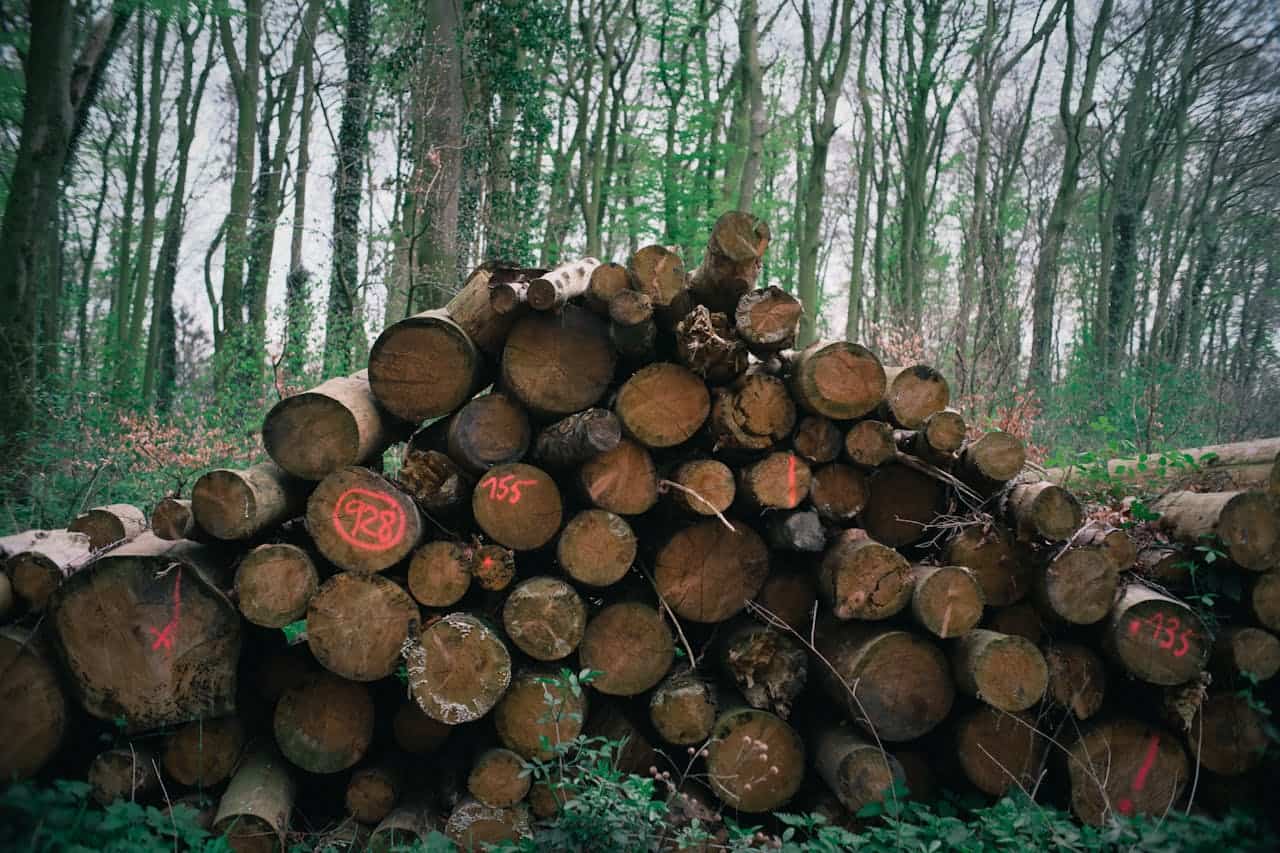
Tree removal is a significant task that requires careful planning and preparation. Whether you’re cutting down a dead tree, clearing space for new construction, or removing a tree for safety reasons, being well-prepared ensures the process goes smoothly.
This guide will walk you through every step of preparing for a tree-cutting service, from assessing the site to post-removal cleanup.
Why Tree Cutting May Be Necessary
Before we dive into the preparation steps, it’s important to understand why tree removal might be needed. Some common reasons include:
- Dead or Diseased Trees: Dead trees pose safety hazards as they can fall unexpectedly.
- Storm Damage: Trees weakened by storms may be at risk of collapsing.
- Property Damage Risks: Trees growing too close to structures, power lines, or underground pipes can cause significant damage.
- Landscaping and Renovation: Some homeowners remove trees to make way for new landscaping projects or home additions.
- Overcrowding: If trees are growing too close together, thinning them out can promote healthier growth.
Step 1: Assess the Area
The first step in preparing for tree removal is to evaluate the site. Consider the following:
- Obstacles Nearby: Identify structures, fences, power lines, or other trees that could be affected during removal.
- Property Lines: Ensure the tree is within your property boundaries. If it’s on a shared property line, discuss removal with your neighbor.
- Access for Equipment: Tree removal often requires heavy machinery. Ensure there’s enough space for workers to bring in necessary equipment.
Step 2: Obtain Necessary Permits
Depending on where you live, removing a tree may require a permit. Some cities and homeowners’ associations have restrictions on tree removal, especially for large or protected trees.
- Check with Local Authorities: Contact your city or county office to find out if you need a permit.
- Homeowners’ Association Rules: If you live in a community with an HOA, check their regulations before proceeding.
- Protected Trees: Some species are protected, meaning removal requires special permission.
Step 3: Hire a Professional Tree Cutting Service
While some small trees can be removed by homeowners, hiring professionals is the safest option for larger or more complex removals. Here’s how to find a reputable company:
- Get Multiple Quotes: Compare pricing, services offered, and customer reviews.
- Check Credentials: Ensure the company is licensed, insured, and experienced in tree removal.
- Ask About Equipment: Some companies use cranes, while others rely on traditional climbing methods.
- Discuss Cleanup: Confirm whether they will remove debris or if you’ll need to handle it yourself.
Step 4: Clear the Work Area
To ensure a smooth and safe removal process, clear the area around the tree:
- Move Vehicles: Park cars away from the work zone to prevent damage from falling debris.
- Relocate Outdoor Furniture: Move patio furniture, grills, potted plants, and other items.
- Secure Pets and Children: Keep pets and children indoors during the tree-cutting process for their safety.
- Provide Access to the Crew: Ensure the crew can easily enter and exit your property.
Step 5: Notify Your Neighbors
If the tree is near a property line or if heavy machinery will be used, inform your neighbors ahead of time.
- Noise Considerations: Tree removal can be loud, so letting neighbors know in advance is a courteous move.
- Potential Disruptions: If equipment or debris might affect a shared space, discuss the plan with your neighbors to avoid conflicts.
Step 6: Plan for Wood and Debris Disposal
Tree removal generates a lot of debris, including branches, leaves, and logs. Decide in advance how you’d like to handle it.
- Keep the Wood for Firewood: If you have a fireplace, ask the company to cut the wood into manageable pieces.
- Chipping for Mulch: Some tree services offer wood chipping, which can be useful for landscaping.
- Haul Away Services: Check if debris removal is included in the service or if you’ll need to arrange for disposal.
Step 7: Ensure Safety Measures Are in Place
Safety is a top priority during tree removal. Here’s how you can help ensure a safe process:
- Stay Indoors: Keep yourself and family members inside while work is in progress.
- Turn Off Power Lines (If Necessary): If the tree is near electrical wires, contact your utility company for guidance.
- Follow Instructions from the Crew: Listen to safety instructions from the professionals on-site.
Step 8: Post-Removal Cleanup and Inspection
Once the tree is removed, there are a few more steps to complete:
- Inspect the Site: Check for any leftover branches, sawdust, or debris.
- Stump Grinding: If you opted for stump grinding, ensure it’s completed properly.
- Soil Restoration: If the removal left a large hole, fill it with soil and consider planting grass or another tree.
Common Mistakes to Avoid
To ensure a smooth experience, avoid these common mistakes:
- Not Checking for Permits: Skipping this step can result in fines or legal issues.
- Ignoring Safety Precautions: Never attempt tree removal without proper expertise or safety measures.
- Not Getting Multiple Quotes: Prices and services vary, so always compare before hiring.
- Forgetting About Cleanup: Confirm who is responsible for removing debris to avoid unexpected work.
Final Thoughts
Preparing for a tree-cutting service is essential to ensure safety, efficiency, and minimal disruption to your property.
By following these steps—assessing the site, securing permits, hiring a reliable company, clearing the area, notifying neighbors, planning for debris disposal, and prioritizing safety—you can make the process seamless.
If you’re planning to remove a tree, take the time to prepare properly. Your efforts will help prevent damage, reduce risks, and ensure a smooth experience from start to finish.

